Features:
High Power Rocket
16.5" Ogive Plastic Nose Cone
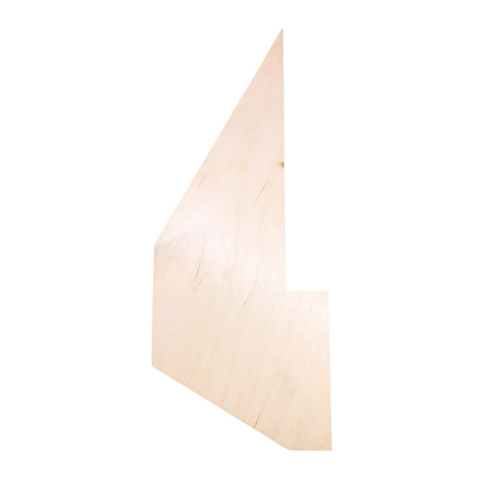
1/4" Plywood Laser Cut Fins and Rings
Delrin Rail Buttons
Dual Deployment Capable
Pre-slotted Airframe
9/16" Tubular Nylon Shock Cord
Specifications:
Length: 66.5"
Diameter 4.0"
Weight: 44oz
Motor Mount: 38mm or 54mm
Fins: 1/4" Plywood
Optional Recovery System:
Nylon Chute 36"
Chute Blast Protector 12" x 12"
Optional Altimeter Bay:
Altimeter Bay - 4" Airframe
Removable Altimeter Bay - 4" Airframe
5 Reviews Hide Reviews Show Reviews
-
Perfect Flights
I have flown my first 3 flights (L1 cert., L1, and L2 cert) and have had straight flights every time. Ive flown two I motors and a J with no issue.
-
awesome flier
You will not be disappointed with this rocket. Simple build rugged flier. I used K850DM. I had a shorter bay tube it went 850 mph over 6,000 agl. Will be one of my go to birds for a long time
-
Strong and easy build kit for L1
Pass my L1 on this kit , with an H148R and a beautiful fly. Easy to build nice look great, simple, just efficient as you can expect for your L1 certification
-
Very Satisfying Builld
I ordered the 54mm version of this kit with the intention of getting L1 and L2 in a day, and I overbuilt it accordingly. I added another centering ring to the motor mount, I fiberglassed the fins directly to the motor mount tube AND the inside surface of the body tube (one piece of glass across all three surfaces), and I cut a custom baffle plate from 1/4" hobby ply. As I was cutting bulkplates for the baffle, I went ahead and cut more plates to modify the coupler into a full dual-deploy av bay. I had ordered a 31" tube to replace the stock payload bay, so I just cut the center band for the av bay from the old tube. save yourself the effort and order the MadCow AV bay. I fully intend to fly this thing on BIG J's and tiny K's, so I wound up having to use a lot of nose weight to make the 4 grain motors balance the way I like. A lot as in a pound of lead shot and spare chain maille links. Nose cone was attached to payload bay using 3mm machine screws. Payload section was biseceted by a bulkplate with a U-bolt, but wasn't necessary for the L1 launch, as I just bolted the coupler to the payload section (no electronics yet). First launch was my L1 attempt. Pad weight was 7.5lbs. Motor was a CTI I218 drilled for 10second delay. Flew beautifully to an estimated 1200 feet. L2 attempt is next week in South Carolina. That will be dual deploy, and estimated 3000ft on a J250 skidmark. I'm going easy for my certs, but I wouldn't hesitate to put a motor in this thing with 400-500 N average thrust. Heads up, this is a CARDBOARD rocket. I accidentally dropped the forward section from waist height onto the end table on my deck and it dented the tube (nose cone and AV bay were attached so it was rather heavy). I had to cut off the entire foward section in half. It's now two inches shorter than stock (thank god I went crazy with nose weight). That said, those tubes are stupid strong longitudinally. I was still able to balance 140lbs of weight on the end of the damaged section after I removed it. All in all, an extremely satisfying build. My only advice is to just go ahead and build it for 38mm with small J's in mind. It'll be lighter, won't need as much reinforcement, and it's a lot cheaper to fly.
-
Great
Launched this thing over 10 times with no issues. I got lv1 certified on this thing and I'm planning on going for lv2 next season.


 Download assembly instructions
 Download RockSim file
 View product review


